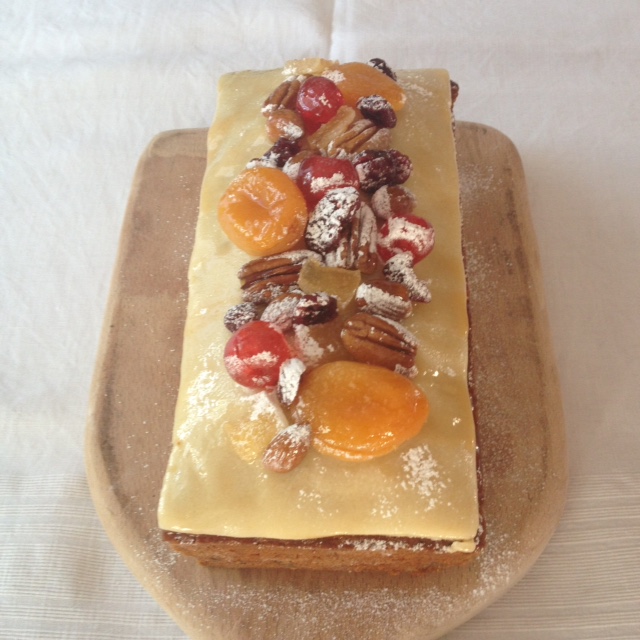
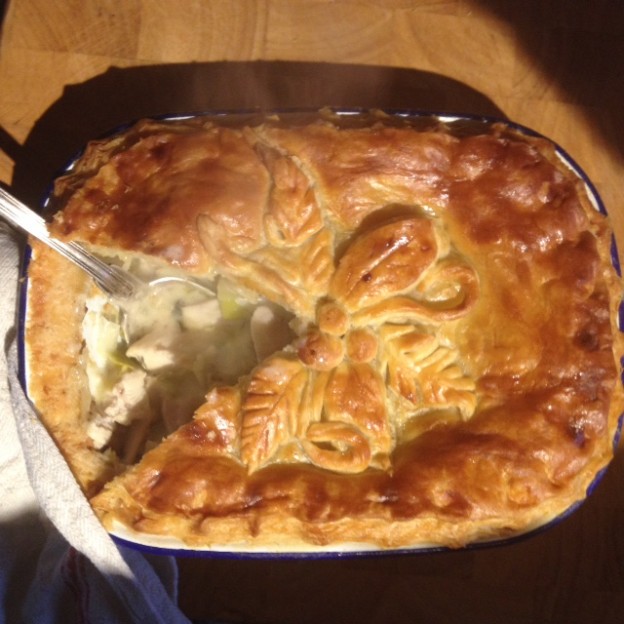
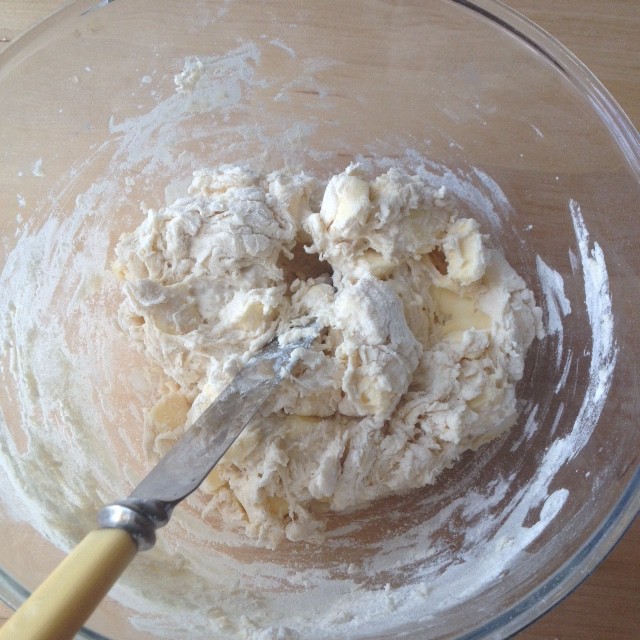
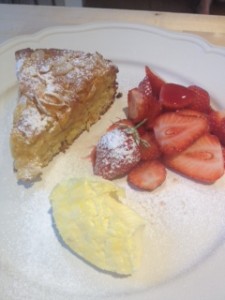
Those of you who know me even slightly will know that I love baking. Funnily enough I don’t eat much cake but I just love the process of making one, from the weighing out of the ingredients, the mixing and folding, the amazing alchemy that goes on in the oven as the cake rises and browns, then the finishing it off in a cloud of icing sugar. And of course when friends come over a home made cake is a real treat to share over a cup of tea and plenty of news and gossip. This weekend I am hosting a Macmillan coffee morning, of course to raise money for a worthwhile cause but also as an excuse to bake my heart out. This whole orange and almond cake is a real winner, and has the bonus of being gluten and dairy free so even the pickiest eaters can enjoy a slice. It’s simple to make, stays moist for days and freezes perfectly, even cut into slices. It’s a big cake and will happily double as a dessert with berries and a scoop of cream(preferably clotted, I say!)
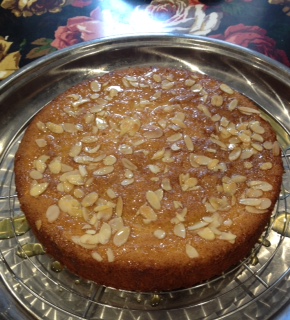
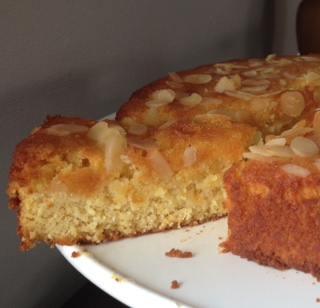
Whole orange and almond cake
It really helps if you have a kitchenaid or other tabletop mixer, or failing that a hand held electric whisk as it is crucial to whisk the eggs and sugar until they are thick and light and this will take at least 5 mins, or a bit longer.
Cuts into 12 good slices
3 untreated oranges
3 large free range eggs
300g caster sugar
300g ground almonds
few drops almond extract
1 tsp gluten free baking powder
few drops almond extract
handful flaked almonds
1 Heat the oven to 160C/fan 140C/Gas 3. Oil and line the base of a 22cm round cake tin. Put 2 of the oranges into a saucepan and cover with water. Bring to the boil, then reduce the heat and simmer for 15 mins, then drain and re-cover with water(this will reduce the bitterness of the oranges). Bring back to the boil and simmer for 30 mins;drain and cool.
2 Coarsely chop the whole oranges, removing the pips. Blitz the whole oranges in a food processor to a fairly fine pulp.
3 Whisk the eggs and 200g of the sugar in a tabletop or handheld electric mixer until the mixture is light, pale and leaves a trail when the whisk blades are lifted.
4 Carefully fold in the orange pulp, the ground almonds and the baking powder, then add the alomnd extract and fold together lightly. The whisk blades are perfect for this job.
5 Pour the mixture into the prepared tin.Scatter over the flaked almonds and bake for about 50mins to 1 hour until the cake is firm to the touch and golden brown. Meanwhile make the syrup.
6 Put the remaining 100g of sugar in a small pan with the juice from the remaining orange. Bring to the boil, stirring, then boil for 2-3 mins until it forms a light syrup. When the cake is cooked pour the syrup evenly over the cake and leave to cool in the tin completely.
7 Take care when turning the cake out of the tin as it is quite fragile. You can dust the edges of the cake with icing sugar for a final flourish.